|
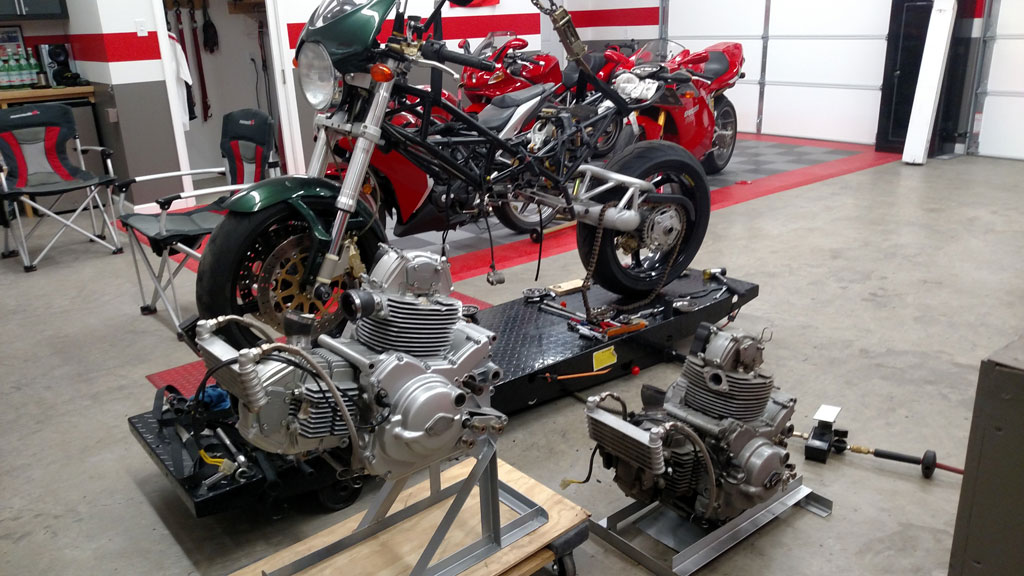
Updates: August 24, 2019 - New 800 engine installed.
A few months ago, I came across a 2005 800 engine from a guy who
had recovered a zero time engine from a brand new - at the time
- wrecked Monster. Presumably it was crashed and totaled
as it left the lot! The exterior of the engine had
suffered flaking paint and some surface corrosion, and very
minor scuff on the alternator cover. On disassembly, it
was apparent that it had hardly been run at all, backing up the
4 miles on the odometer as stated by the seller. There
wasn't a spot of carbon on the pistons, valves, or head.
There was still traces of assembly lube in interior of the
alternator cover and clutch cover.
After teardown and then extensive clean up and strip of the
original paint, I primed and painted, then baked to cure.
New belts, plugs, oil and filter etc., and on 24 Aug 19,
conducted the transplant. It replaced the existing 800
engine, which was starting to exhibit some oil smoke. That
engine will get will some TLC and I will try to determine the
cause of the oil burning and fix it. (hopefully something
simple)
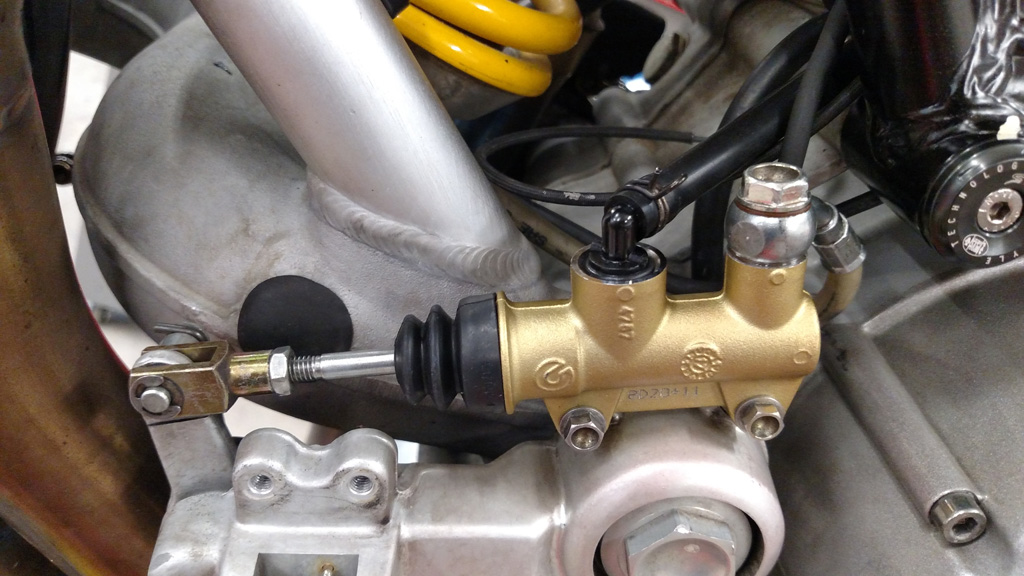
 March 31, 2010 - replaced Rear Brake Master
cylinder, old master would not relieve pressure in system when
pedal released...plunger adjusted properly, even with plunger
withdrawn, pressure would not fully relieve. Disassembled
the previous master, relief port was clear, likely seal issues,
so just replaced the master with a new one from Brembo that was
about $10.00 more than the seal kit. Brembo PN 10477612 /
Ducati PN 62540061A
 Also, installed new pads, Brembo PN
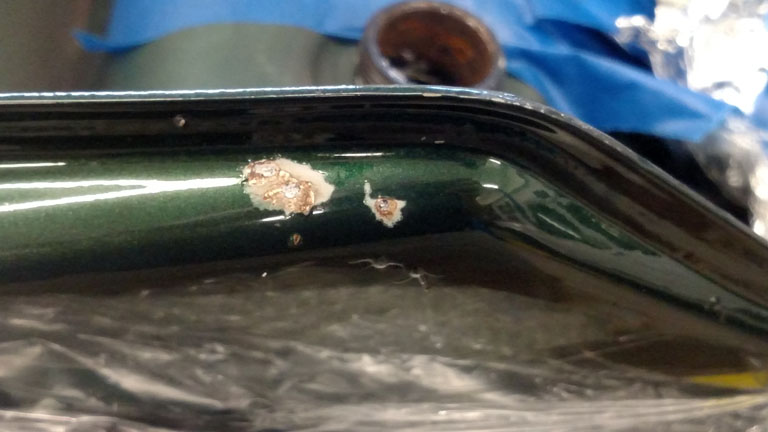
107268625 / Ducati PN 61340081A Winter 2018/2019 - Discovered a fuel leak (weep)
coming from right side tank "crap pockets". Noticed
two small blisters at bottom of right side crap pocket and saw
wetness from gasoline. A small spot on the floor
where it had been dripping clued me in to the issue, at first I
assumed oil drip but checked with the sniffer and realized it
was fuel. Damn, I hate ethanol in gasoline! 
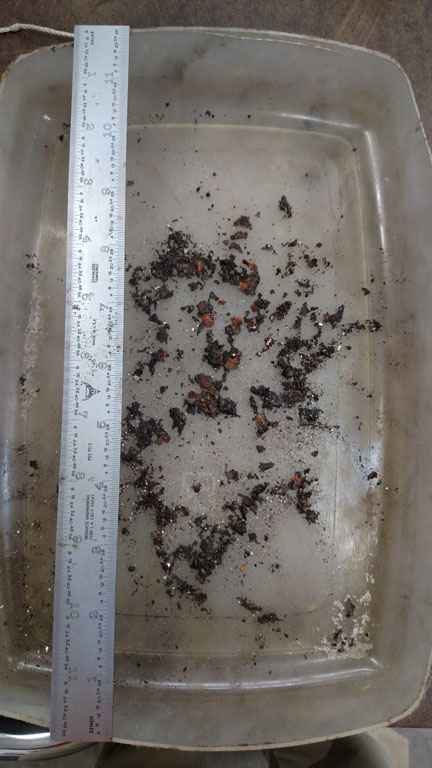
Drained the steel tank and removed the internals (fuel pump,
filter, fuel level sending unit etc.) did aggressive bolt
and acetone rust removal iterations, used a heavy magnet to aid
in capturing loosened rust fragments.
Opted for Caswell Motorcycle Gas Tank Sealer in Battleship Grey.
I ordered one kit at first but then thought better of it as I
read more and bought a second kit. With the Matrix
fuel tank no longer available from Ducati, I did not want to
leave coverage to chance. (https://www.caswellplating.com/epoxy-gas-tank-sealer/battleship-grey-motorcycle-gas-tank-sealer.html)
The kit as sold is advertised as enough to line a 5 gallon tank,
not all tanks have identical surface area and I venture to say
the Monster has probably the most surface area of any 5 gal tank
I have seen. The kit was enough to cover the entire
interior of the tank by following instructions to the letter.
By all accounts it is quite temperature sensitive so I was sure
to have my garage at 74F for two days for the tank and the two
kits of two part epoxy to thermally stabilize before beginning
the application. Again, for the Monster, one full Caswell
Motorcycle Gas Tank Sealer kit is enough, minimal to no waste.
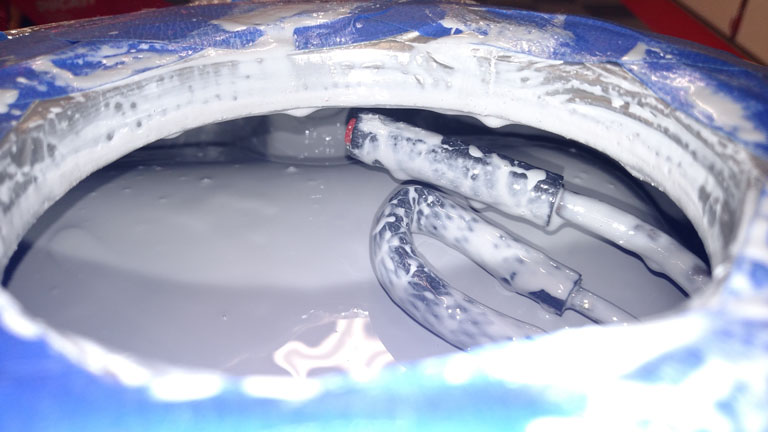
Using a decent small silicone spatula to get all the resin and
all the hardener out of the cans into the mixing tub and then
work immediately to thoroughly mix the the epoxy (Caswell
recommends about two minutes to mix) followed by pouring into
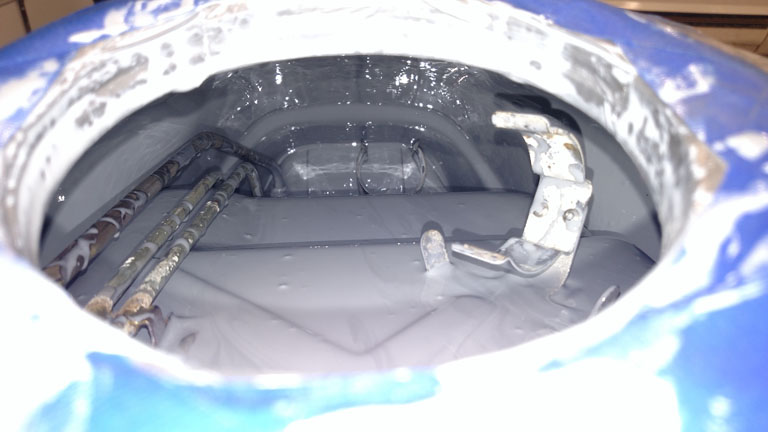
the tank and beginning the coating process. I opted for two
kits, to do a second application, which I did about 16 hours
after the first application. Caswell recommends that if a
second application is desired to do so within 24 hours of the
first for best adhesion. The most time consuming phase,
besides cure time, is preparation. Preparation is key from
the initial tank removal and getting the loosened rust out of
the tank, to cleaning (use Acetone to rid of fuel and any trace
oil or anything to interfere with the epoxy bonding) to
protection for all painted surface of the tank. Caswell
suggests that you need not remove all the surface rust which is
good because my rust problems were in the crap pockets and the
lower aft ends of the Monster fuel tank. In addition to
slapping the sides of the tank by hand to vibrate and loosen
larger rust deposits, I used 30 drywall screws and acetone to
agitate and loosen remaining rust. I did get some of the
screws wedged into the crap pockets and it was a pain in the
butt to get them all out, which I eventually did. I spent a
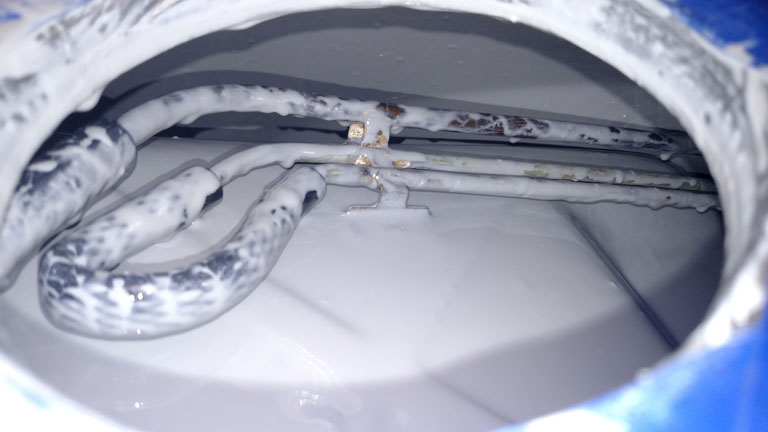
bit of time cleaning the vent lines that pass through the tank
and capped them inside the tank with fuel line. The fuel
supply line I closed off with fuel line, but the return line is
in the bottom aft portion of the tank and with some effort,
inserted a plug into that line opening to keep any epoxy out of
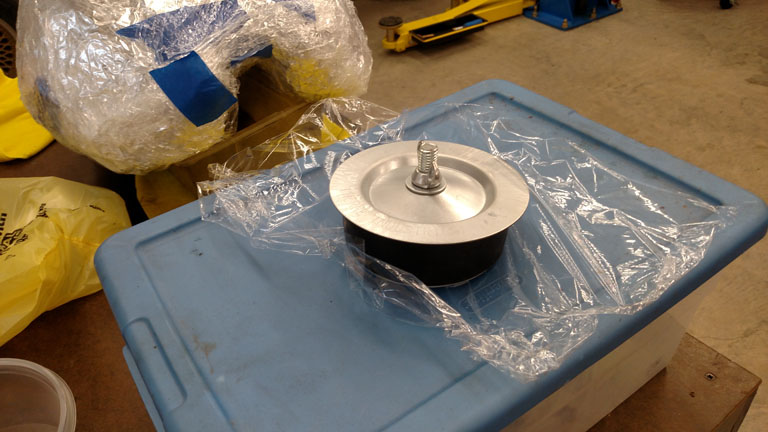
that line or from obstructing it. Used an o-ring with an
aluminum disk inside the fuel sender nut to close the bottom
opening in the tank (fuel sender hole) and purchased an
expansion plug (5") from McMaster-Carr (2613K29 - Wing Nut
Expansion Plug with Zinc-Plated Steel Plate, for 5 Pipe Size)
for the top of the tank where I removed the entire gas cap
assembly.
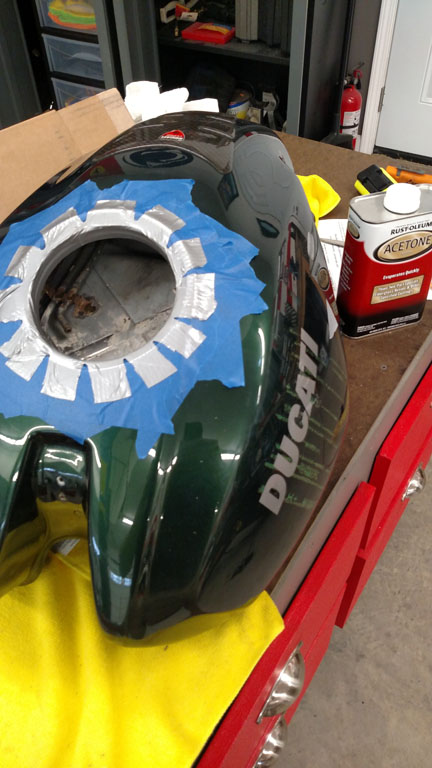
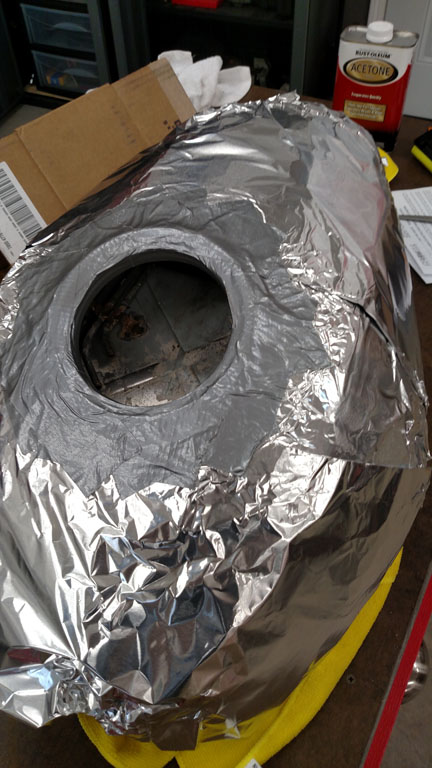
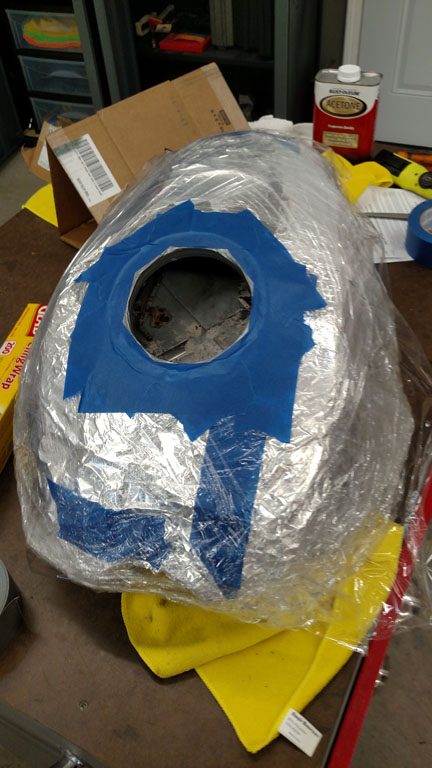
I used 3M duct tape and it placed over the four pin holes I
found in the right side crap pocket. Duct Tape, 3M Painter's
tape, Glad wrap, aluminum foil and more Glad wrap applied to the
entire tank to protect the paint. Preservation of the
paint was vital to me, so I let very little to chance. I
mentioned Ducati no longer has this tank available for sale.
Finding the paint match is extremely difficult although I did
get some touch up from a company in the UK. I do have a
set of the Matrix tank decals should my project and this
solution fail. Finding a Ducati Monster steel tank in good
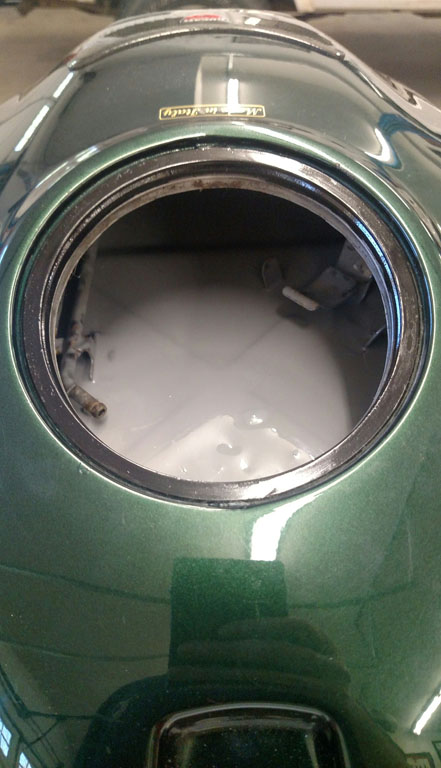
condition these days is quite rare. The tank is sealed now.
The "crap pockets" are filled with epoxy and pinholes are
closed. Some touch up paint will be applied. As the
spots are not in sight line, not sweating that it will be touch
up instead of re-paint.
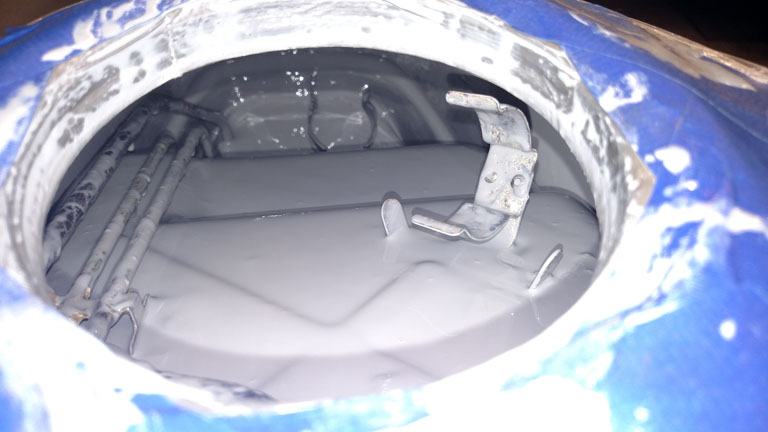
1st Application:
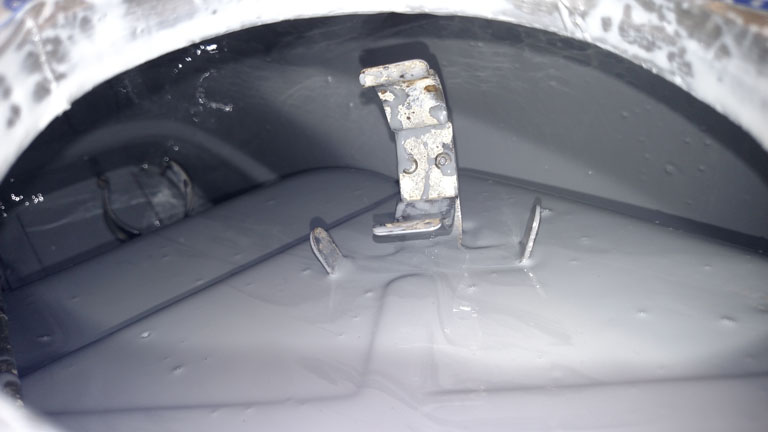
2nd application
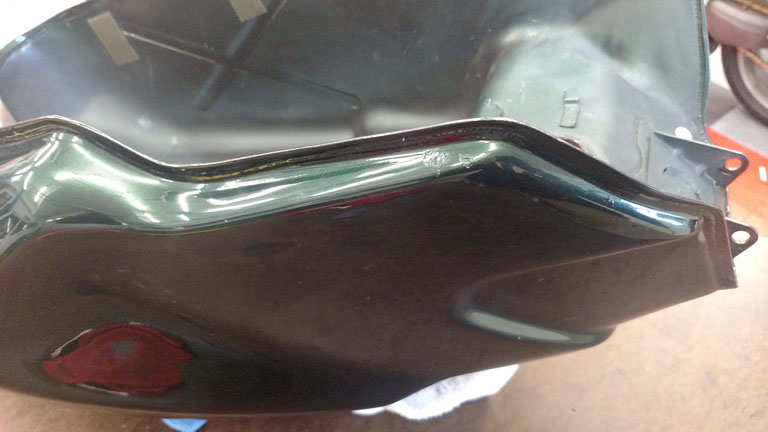
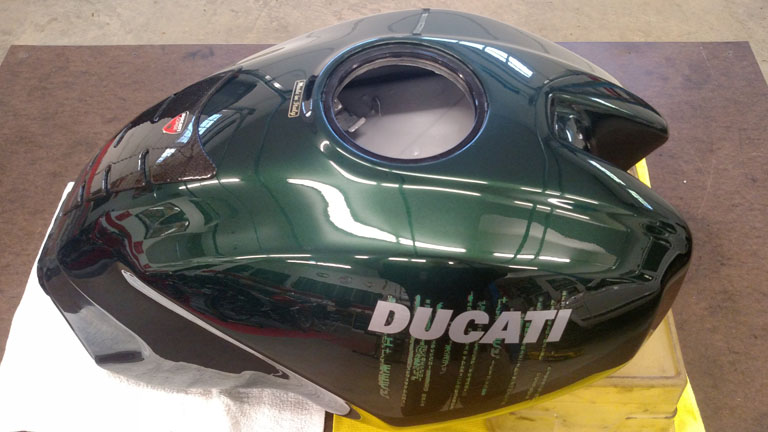
Exterior after sealed, crap pocket pin holes filled and crap
pockets filled:
Touch up paint applied
re-painted bezel black while I was at it:
 |